Modifying the Workflow Status Bar
The Workflow Status Bar is a graphical representation that shows the progression of an Incident, Problem, Change or Service Request ticket through the events in a timeline. This workflow status bar tracks the entire process from the submission of a (New) request throughout the life cycle until the request is successfully closed (Closed). The Workflow Status Bar is displayed at the top of a ticket form.
To change the Status Bar, you must know:
-
how you wish the Status Bar to Display
-
the name of the current state in the Status Bar
Because the Status Bar changes from state to state, make modifications to the status bar in each individual state.
Modifications to the Status Bar uses two fields in the Properties sub-tab under the States tab - Status Bar and Status Name. ChangeGear takes the information from the Status Bar field to create the Status Bar. The Status Name is used to mark which of the states in Status Bar field is the current state. ChangeGear uses this information to color-code the Status Bar.
Note: If the state entered in the Status Name field is misspelled or not present in the Status Bar field, the state is added to the end of the Status Bar and displayed as an end state in the Status Bar.
Using a previous scenario of creating a new state, Deployed, now add the Deployed state to the Workflow Status Bar.
Note: You can enter the same Status Name for multiple states. For example, if you have three different testing states, but only want the Workflow Status Bar to display Testing, you can enter Testing into the Status Name of all of the different testing states.
To modify the Workflow Status Bar:
-
In Design Studio, click All Apps, or navigate to the desired app (i.e. Change), then select Workflows. All workflows are displayed.
-
Select an existing workflow to modify. You can either create a copy of the workflow or open the workflow in Design Mode, then save it as a new workflow. If saving as a new workflow, name the workflow and click OK.
-
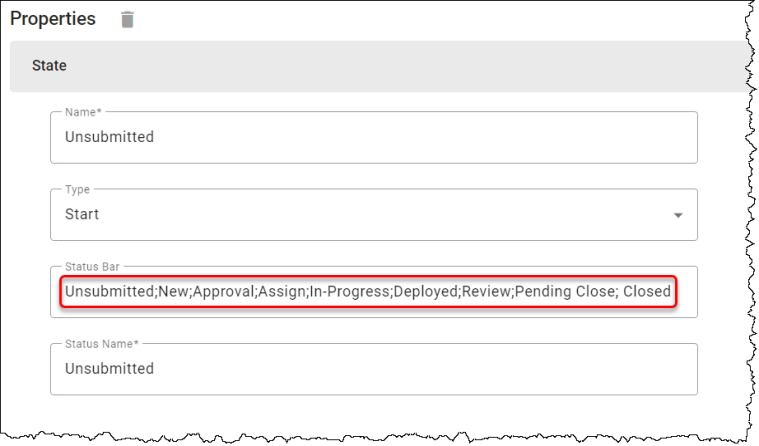
In the Left Panel under States, select Unsubmitted to view the action properties.
-
In the State Properties, edit the Status Bar to read: Unsubmitted;New;Approval;Assign;In-Progress;Deployed;Review;Pending Close;Closed
-
Enter the Status Bar information for each state as needed.
-
Click the three-dot menu next to the workflow name to Save or Publish the workflow.
-
Set the workflow as the default to see your changes. Deployed will now be present in the Status Bar.